
How to take a screenshot on Windows 10
In this blog post, you will learn how to take a screenshot on Windows 10.
Step by step
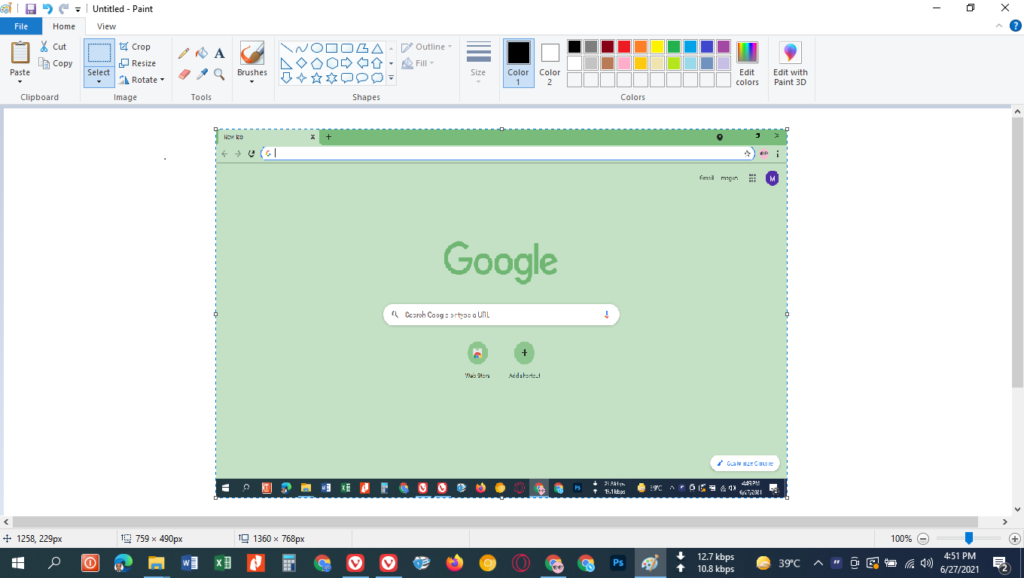
- Press the Windows key + Print Screen
- Open Paint and press Ctrl+V to paste your screenshot
- Save it as a .jpg file on your Desktop
- You can also take screenshots of specific windows by pressing Alt + PrtScn, or taking screenshots of individual menus by pressing Alt + Shift-PrtScn

- If you want to capture something in a window that you don’t have open, click on the title bar and drag it down until the pointer changes into a crosshair; release, when you see the rectangle around what you want to, capture
- Use Snipping Tool if you need more advanced features like annotating images with arrows or text boxes, adding comments for others viewing them later, etc.; this is accessed through Start > All Programs > Accessories > Snipping Tool
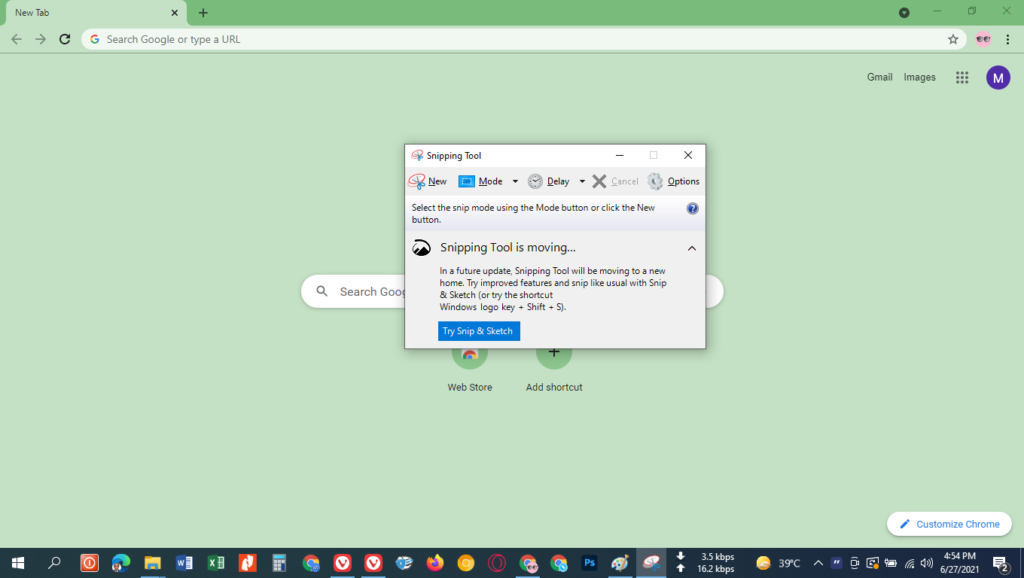
- You can also press windows logo key + shift + S to snip what’s on your screen without starting snip & sketch
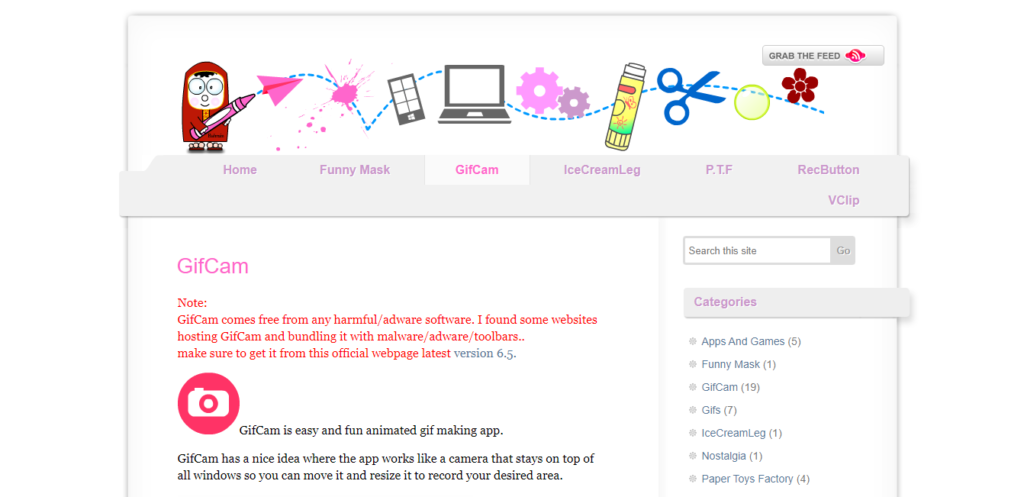
- To create an animated GIF from multiple pictures taken one after another, use GifCam
Finally, make sure that your computer has enough memory before taking any large screen captures; otherwise, they may crash!
That’s all there is to it!
Read about: How to find out what kind of laptop I have?
Read about: Best laptop for PhD Students